How to Install a Pond Liner: Step-by-Step Guide & Tips
How to Install a Pond Liner: Step-by-Step Guide
Most pond leaks are not caused by the liner. They are caused by what happened before the liner went in: a stone left in the base, an edge that sits lower on one side, a liner stretched tight instead of laid loose. A pond liner installation succeeds or fails on preparation — the liner only has to hold water, but the ground underneath it has to protect the liner for the next 10 to 25 years.
This guide walks through the full installation, from marking out the hole to trimming the edge, and covers the mistakes that cause most early failures.
If you have not worked out your liner size yet, start with our guide to how much pond liner you need.
Before you dig
Three decisions are much easier to make now than after the hole exists.
Pick a level, sunlit spot away from trees. Roots are the most common cause of punctures from below, and falling leaves load the water with debris. A site that is already close to level saves hours of edge work later.
Call 811 before digging. It is free across the United States and marks buried utility lines before you put a spade in the ground.
Plan the depth profile. Most backyard ponds use a shelf of around 8 to 12 inches deep for marginal plants and a deeper zone for fish or overwintering. Every wall and shelf should step down gradually; vertical walls and sharp corners make the liner fold awkwardly and pull tight.
Tools and materials
Pond liner, sized with the formula (length + 2 × depth + 2 ft, by width + 2 × depth + 2 ft)
Geotextile underlayment, cut to the same size as the liner
Garden hose or rope to mark the outline
Spade, level and a long straight board for checking the edge
Sand (optional, for smoothing a stony base)
Edging stone, pavers or soil to secure the overlap
Sharp utility knife or scissors for trimming
Step-by-step installation
Mark the outline. Lay a hose or rope in the shape you want and live with it for a day. Adjust until it looks right from the house and the main seating area.
Dig in stages. Excavate the shelf level first across the whole footprint, then dig the deeper zone inside it. Slope the walls slightly outward rather than cutting them vertical.
Check the edge is level all the way round. Lay a straight board across the hole with a level on top and check every few feet. The edge sets the waterline, so a rim that is 2 inches low on one side will show 2 inches of liner on the other.
Clear the base. Remove every stone, root and sharp object from the base, shelves and walls. On stony ground, spread 1 to 2 inches of sand across the base.
Lay the underlayment. Cover the whole excavation, base, walls and shelves, with geotextile underlayment, overlapping any joins.
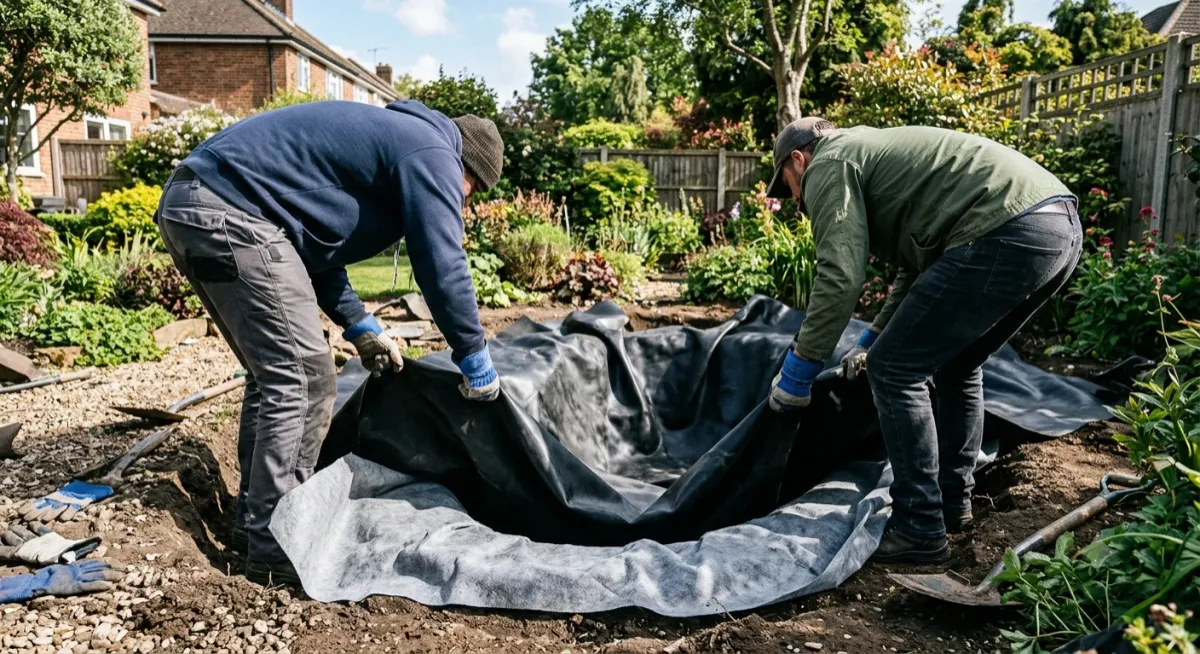
Position the liner. Unfold the liner on a warm day, when it is most flexible, and centre it over the hole. Let it settle into the hole loosely. Do not stretch it to fit; a stretched liner is under stress before any water goes in.
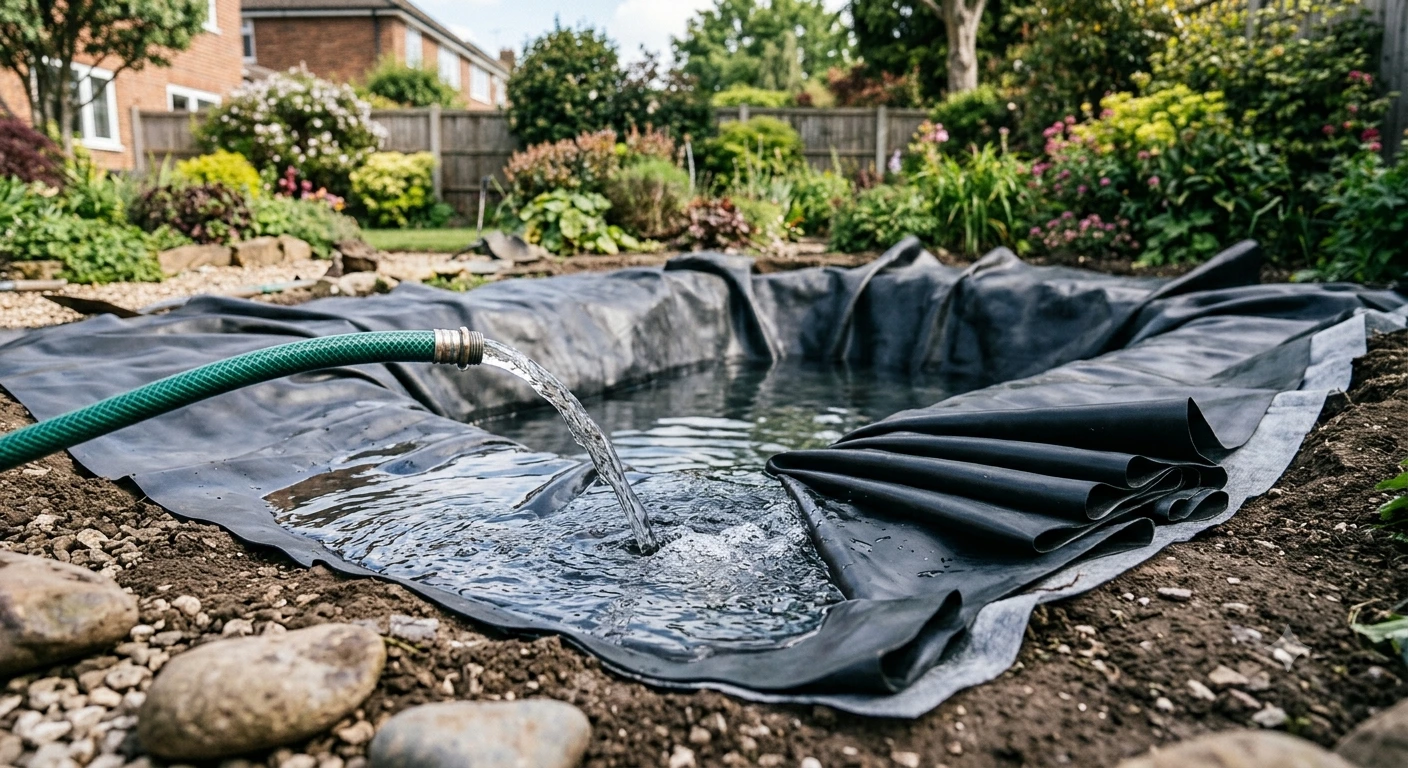
Start filling slowly. Add a few inches of water and let its weight pull the liner into the contours. Work out folds as it fills, making a few large, neat pleats rather than many small creases.
Fill to just below the edge and wait. Let the pond sit full for at least a day so the liner settles completely before you trim anything.
Secure and trim the edge. Lay the overlap flat around the rim, secure it with edging stone, pavers or soil, and only then trim the excess, leaving at least 1 ft under the edging.
BCP's own installation guidelines for its pond liners follow the same order: prepare the base, lay a protective geotextile underlayment, unroll and position the liner with extra material at the edges, let it settle into the contours, secure the edges, then fill slowly while making final adjustments.
Large ponds and anchor trenches
On farm ponds, irrigation reservoirs and other large installations, the edge is usually held in an anchor trench rather than under stones.
Dig a trench around the rim, set back from the edge of the slope
Run the liner over the crest and down into the trench
Backfill the trench and compact the soil firmly on top of the liner
Allow roughly 3 ft of extra liner per side for the trench when you size the liner. Large liners are heavy to move and position, so plan the crew size and the unrolling direction before delivery. BCP's Pond Liner Ultra can be factory-fabricated to the required dimension, which reduces the seams that would otherwise have to be made on site.
Mistakes that cause most early leaks
Skipping the underlayment. A stone that cannot be felt through a boot sole can push through a liner once several tons of water sit on top of it.
Stretching the liner to fit. Tension concentrates at corners and shelf edges, which is exactly where liners split.
Trimming before the pond has settled. Liners keep moving for the first day of filling. Trim too early and the overlap can end up short.
A low spot on the rim. Water finds the low point, wicks over the edge and drains the pond slowly. It looks exactly like a leak, and it is the first thing to check when the level drops.
Placing heavy rocks directly on the liner. Large rocks inside the pond should sit on an extra layer of underlayment or offcut liner, never directly on the membrane.
Choosing the liner for the job
Pond type | Suggested BCP liner | Why |
|---|---|---|
Small garden pond or water feature | Pond Liner Standard (20 mil EPDM) | Lightweight and easy to fold into small, tight shapes |
Medium decorative pond | Pond Liner Standard Plus (30 mil reinforced EPDM) | Extra tear and puncture resistance for larger spans |
Koi pond, large pond or aquaculture | Pond Liner Premium (30 mil fish-safe PVC) | Fish-safe formulation and welding properties for larger installs |
Farm pond, reservoir, industrial | Pond Liner Ultra (40 mil reinforced RPE) | Maximum puncture resistance, fabricated to size |
Frequently asked questions
Do I need an underlayment under a pond liner?
Yes, in almost every case. A geotextile underlayment protects the liner from stones, roots and burrowing animals, and it is cheap compared with draining and relining a pond. Cut it to the same size as the liner.
Can I install a pond liner in cold weather?
You can, but it is harder. EPDM and PVC are stiffer when cold, so folds are more difficult to form neatly. Unrolling the liner in the sun for an hour before positioning it makes a noticeable difference.
Should I put sand under a pond liner?
Sand helps smooth a stony base, but it is not a substitute for underlayment, because it can wash off sloped walls. Use sand on the base, then underlayment over everything.
How do I hide the edge of a pond liner?
Lay the overlap flat under edging stone or pavers set slightly over the water, or tuck it under soil and plant over it. The edge must stay above the waterline all the way round.
How long after filling can I add fish?
Let the pond run with its pump and filtration for at least a week or two before adding fish, and use a water conditioner if you filled it from a treated mains supply.
Get help planning your installation
Before you order, have ready:
Pond length, width and maximum depth
Your calculated liner size
Whether the pond will hold fish, irrigation water, or is decorative
How the edge will be finished: stone, pavers or anchor trench
Request a pond liner recommendation
Send us your pond dimensions and plans, and our team will come back with the right liner grade and size for the installation. Or call 877-540-5678.
