Radiant Barrier for Your Home: Is It Worth It?
Radiant Barrier for Your Home: How It Works and When It Is Worth the Investment
If your upstairs rooms feel like an oven in the summer or your air conditioning runs nonstop from May through September, the problem might not be your HVAC system. It might be your attic.
On a hot day, your roof absorbs solar energy and transfers that heat straight down into the attic. Attic temperatures can reach 150 degrees or higher. That heat radiates through the ceiling and into your living space, forcing your cooling system to work overtime.
A radiant barrier is one of the simplest and most cost effective ways to break that cycle. In this guide, we will explain how radiant barrier works, where it should be installed, how it compares to traditional insulation, and whether it is worth the investment for your home.
What Is a Radiant Barrier?
A radiant barrier is a reflective material, usually made from aluminum foil laminated onto kraft paper, polyethylene film, or a foam backing. It is installed in the attic to reflect radiant heat away from the living space rather than absorbing it the way traditional insulation does.
While standard insulation like fiberglass or cellulose slows heat transfer through conduction and convection, it does nothing to stop radiant heat, which is heat that travels in waves from a hot surface to a cooler one. On a sunny day, your roof deck becomes the hot surface and your attic floor (and everything below it) becomes the cooler target.
Radiant barrier reflects up to 97% of that radiant energy back toward the roof instead of letting it pass through to your attic. The result is a significantly cooler attic, lower ceiling temperatures, and less work for your air conditioning system.
How Radiant Barrier Works
Understanding radiant barrier starts with understanding the three types of heat transfer.
Conduction is heat moving through solid materials. When your roof deck absorbs solar heat, that heat conducts through the wood to the inside surface.
Convection is heat moving through air. Hot air in the attic rises and circulates, spreading heat throughout the space.
Radiation is heat moving in waves from a hot surface to a cooler one without needing direct contact. This is the dominant source of heat gain in your attic. The hot underside of the roof deck radiates heat downward to the attic floor, insulation, and ductwork below.
Traditional insulation addresses conduction and convection. Radiant barrier addresses radiation. That is why they work best together rather than as replacements for each other.
When sunlight hits your roof, the shingles and deck heat up. That heat radiates downward into the attic. If a radiant barrier is installed on the rafters or over the attic insulation, it reflects that radiant energy back before it can warm the attic air and the surfaces below.
The result is attic temperatures that are 20 to 30 degrees cooler than they would be without the barrier. That translates directly into lower cooling costs and a more comfortable home.

Where to Install Radiant Barrier
There are three common installation methods. The best one for your home depends on your attic layout and whether you are building new or retrofitting an existing home.
On the underside of the roof rafters. This is the most effective placement. The barrier is stapled to the bottom of each rafter with the reflective side facing down toward the attic floor. This method reflects heat before it ever enters the attic space and works well in both new construction and retrofits.
Make sure to leave a small gap between the barrier and the roof deck. The barrier should not touch the deck directly because it needs an air space to reflect heat effectively. Also ensure your attic ventilation is not blocked by the barrier material.
Over the attic floor insulation. The barrier is laid flat over the existing insulation with the reflective side facing up. This is the easiest method for homeowners doing a DIY installation. It reflects heat that has already entered the attic back toward the roof before it can transfer through the insulation and into the living space.
This method is less effective than rafter installation because the radiant heat has already entered the attic space. But it still provides meaningful energy savings and is much easier to install in an existing home where accessing the rafters may be difficult.
Integrated into the roof deck. Some newer construction uses radiant barrier sheathing, which is plywood or OSB with a foil layer already bonded to one side. This is installed as the roof deck during framing, eliminating the need for a separate barrier installation.
This method works best for new builds or complete roof replacements where the deck is being replaced anyway.

How Much Does Radiant Barrier Save on Energy Bills?
The energy savings from radiant barrier depend on your climate, your home's existing insulation, and how your attic is configured. But the general numbers are encouraging.
Homes in hot, sunny climates (like the southern United States) typically see a 5 to 15% reduction in cooling costs after installing radiant barrier. In some cases, the savings can be higher, especially in homes with poor existing insulation or ductwork running through the attic.
The Department of Energy has found that radiant barriers are most effective in hot climates and can reduce cooling costs enough to pay for themselves within 2 to 5 years in these regions.
In cooler climates, the savings on cooling are smaller, but radiant barrier also helps in winter by reflecting heat back down into the living space, reducing heat loss through the attic. The winter benefit is less pronounced than the summer benefit, but it adds to the overall return on investment.
Beyond energy savings, radiant barrier also reduces the thermal stress on your HVAC system, ductwork, and roof underlayment. A cooler attic means your air conditioning runs less, your ducts lose less energy, and your roofing materials last longer.
Radiant Barrier vs. Traditional Insulation
This is where most homeowners get confused. Radiant barrier and traditional insulation are not competitors. They address different types of heat transfer and work best when used together.
Fiberglass and cellulose insulation slow heat transfer through conduction and convection. They work by trapping air in tiny pockets that resist heat flow. The thicker the insulation (measured in R value), the slower the heat moves through it.
Radiant barrier reflects radiant heat before it reaches the insulation. It does not have an R value in the traditional sense because it works by reflection rather than resistance.
Think of it this way: insulation is a winter coat that keeps heat from escaping. Radiant barrier is a mirror that bounces heat away before it ever reaches the coat.
The best performing attics use both. Standard insulation on the attic floor (R 38 to R 60 depending on your climate zone) plus radiant barrier on the rafters or over the insulation. This combination addresses all three types of heat transfer and gives you the lowest possible energy bills.
Common Myths About Radiant Barrier
"Radiant barrier replaces insulation." It does not. It supplements insulation by addressing a type of heat transfer that insulation cannot handle. You still need proper insulation in your attic.
"It only works in hot climates." Radiant barrier is most effective in hot climates, but it also helps reduce heat loss in winter. Homes in moderate climates still see meaningful energy savings.
"Any reflective material works." Only engineered radiant barrier products with high reflectivity (95% or higher) and proper installation will deliver the energy savings you expect. Random reflective materials are not tested or rated for this purpose.
"It causes moisture problems." When installed correctly with proper attic ventilation, radiant barrier does not cause moisture issues. Problems only arise when the barrier blocks ventilation airflow or when it is installed in direct contact with a surface without an air gap.
"It is too expensive to be worth it." Radiant barrier material costs are relatively low compared to other home energy upgrades. A typical attic installation runs $500 to $1,500 for materials depending on attic size. With annual cooling savings of 5 to 15%, most installations pay for themselves in 2 to 5 years.
Installation Tips
Whether you hire a pro or do it yourself, keep these tips in mind.
Make sure your attic has adequate ventilation before installing radiant barrier. Ridge vents, soffit vents, and gable vents should all be clear and functional. Radiant barrier works with ventilation, not in place of it.
If installing on rafters, leave a gap of at least 1 inch between the barrier and the roof deck. Direct contact reduces the barrier's effectiveness and can trap moisture.
Keep the reflective surface dust free over time. Dust buildup reduces reflectivity and lowers performance. This is more of a concern with attic floor installations where dust settles on the upward facing surface.
Do not cover or block soffit vents, ridge vents, or any other ventilation openings with the barrier material.
If your attic has ductwork running through it, radiant barrier provides an extra benefit by keeping the attic cooler so the ducts lose less energy. This is especially important in homes where the HVAC system and ducts are in the attic space.
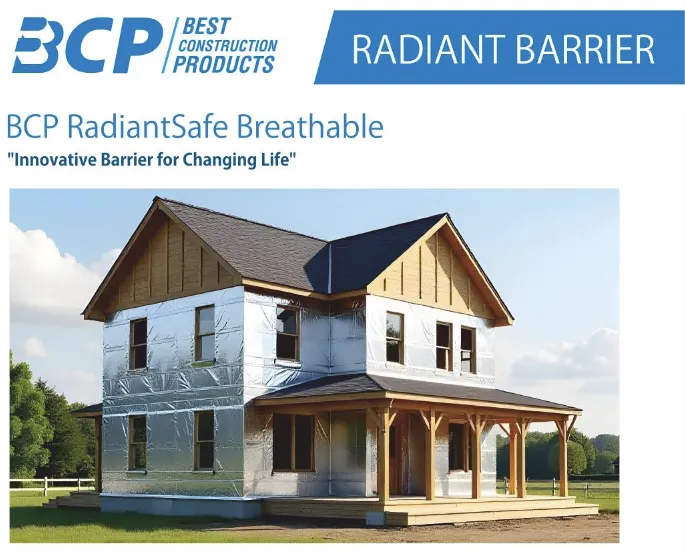
At BCP Inc., our radiant barrier products are designed for maximum reflectivity and easy installation. Available in foil, breathable, and foam backed options to fit any attic configuration and climate.
Frequently Asked Questions
How long does radiant barrier last? Quality radiant barrier products last 20 years or more when properly installed. The aluminum foil does not degrade significantly over time as long as it is not physically damaged.
Can I install radiant barrier myself? Yes, especially with the attic floor method. Rafter installation requires working overhead in a confined space, which is more challenging. If you are comfortable working in your attic, DIY installation can save significant labor costs.
Does radiant barrier work under metal roofs? Yes. Metal roofs conduct even more heat than shingle roofs, making radiant barrier particularly effective in metal roof applications.
Will radiant barrier make my attic completely cool? It will not make your attic the same temperature as your living space, but it can reduce attic temperatures by 20 to 30 degrees. That reduction makes a significant difference in your comfort and energy costs.
Is radiant barrier the same as reflective roof underlayment? They are related but serve different purposes. Reflective roof underlayment is installed on the roof deck under the roofing material. Radiant barrier is typically installed inside the attic on the rafters or over the insulation. Both use reflective technology to manage heat.
Keep Your Home Cool and Your Bills Low
Radiant barrier is one of the smartest energy upgrades you can make. It is affordable, effective, and works alongside your existing insulation to keep your attic cooler and your living space more comfortable.
At BCP Inc., we offer professional grade radiant barrier products that reflect up to 97% of radiant heat. Whether you are a homeowner looking to lower your energy bills or a contractor offering energy efficiency upgrades, we have the right product for the job.
Ready to get started? Call us at 877-540-5678 or visit bcpinc.us to explore our full radiant barrier lineup and request a quote.

