How to Tarp a Roof: Step-by-Step Guide
How to Tarp a Roof: Step-by-Step Emergency Guide
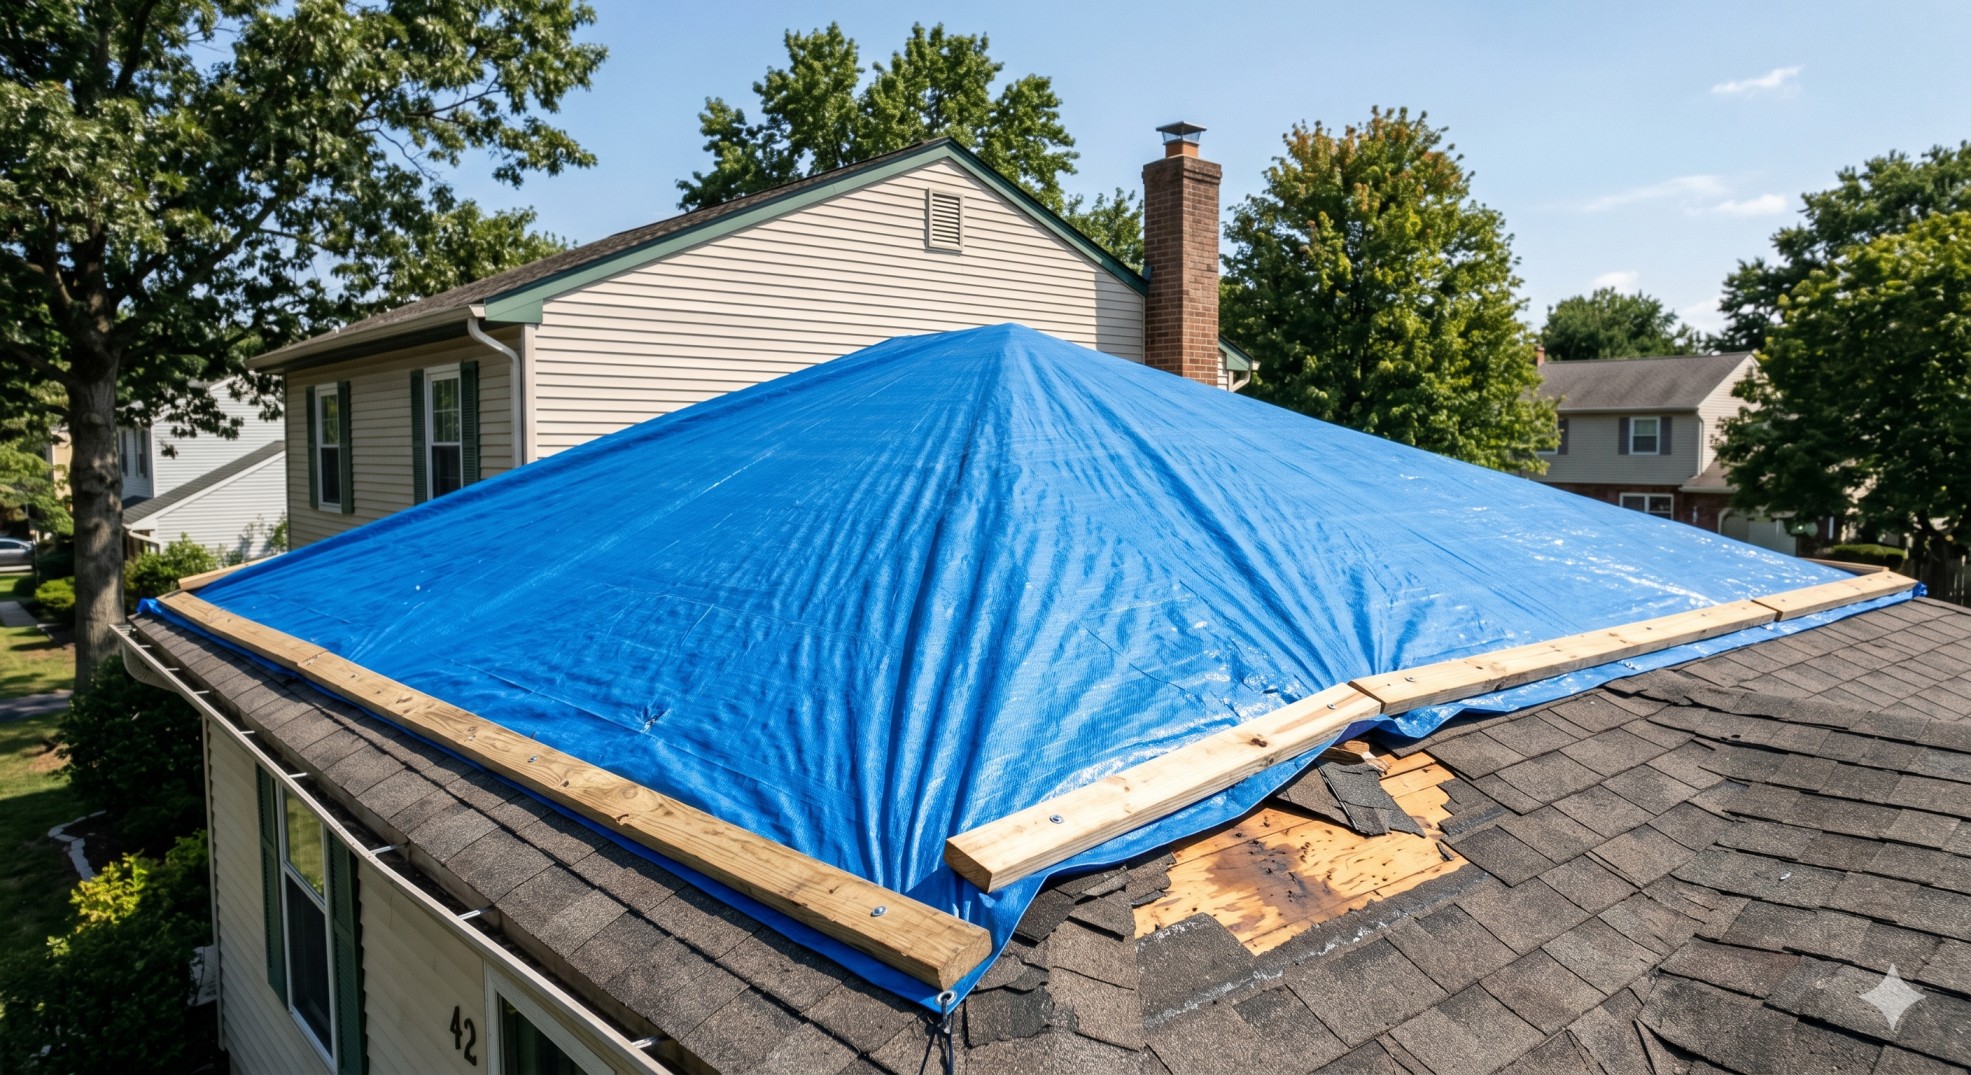
To tarp a roof, start by staying safe and waiting until the roof is dry enough to walk on. Measure the damaged area and choose a tarp large enough to extend at least 4 feet past the damage on all sides, running it up and over the peak. Roll one edge around a long board (a 2x4), anchor that board at the ridge so the tarp lays down-slope over the damage, then secure the remaining edges with boards screwed down or sandbags. Wrapping the tarp edges around boards and fastening through them, rather than nailing through open tarp, keeps it from tearing loose in wind. A properly installed tarp buys you weeks of protection until permanent repairs happen.
When a storm tears off shingles or a tree drops a branch through your roof, water starts pouring in fast. A roof tarp is your emergency defense, a temporary cover that stops further water damage until a roofer can make permanent repairs. Done right, it can protect your home for weeks. Done wrong, it blows off in the next gust and you're back to square one.
This guide walks through how to tarp a roof safely and securely, step by step.
When Should You Tarp a Roof?
Tarp a roof any time the roofing surface is compromised and rain is a risk before permanent repairs can happen. Common situations include missing or torn-off shingles after a windstorm, a tree limb puncturing the deck, hail damage, or a leak you've traced to a specific spot.
The goal is simple: stop water from reaching the deck and the inside of your home. Even a small opening can let in enough water to rot decking, soak insulation, stain ceilings, and grow mold within days. A tarp is the fast, affordable way to halt that damage while you arrange a real repair.
If the damage is extensive or the roof is steep, high, or still wet, call a professional. No tarp is worth a fall.
Safety First: Before You Climb Up
Roof work is dangerous, and most tarping happens right after bad weather when conditions are worst. Take these precautions seriously.
Wait until the roof is dry enough to walk on. Wet shingles and tarps are extremely slippery. If it's still raining hard, wait or call a pro.
Never work on a roof in wind, lightning, or storms. Tarp once the weather breaks.
Use a stable ladder on level ground, and have someone hold it. Wear shoes with good grip and a safety harness if you have one.
Stay off steep or high roofs. If the pitch is steep or you're more than one story up, this is a job for a professional with proper equipment.
Watch for hidden damage. Storm-damaged decking can be weak. Step on rafters and solid areas, not over the damaged section.
If anything feels unsafe, stop. A water-damaged ceiling is fixable. A fall is not worth it.

What You'll Need
Gather everything before you climb so you're not going up and down repeatedly.
A heavy-duty tarp large enough to cover the damage plus at least 4 feet of overlap on every side. A thicker tarp (12 mil or higher) holds up far better in wind than a thin one.
Several long boards, like 2x4s, to anchor the tarp edges.
Screws and a drill, or roofing nails and a hammer, to fasten the boards.
A ladder, work gloves, and grippy shoes.
Sandbags or extra boards to weigh down edges if you can't fasten into solid framing.
A tape measure and a utility knife.
How to Tarp a Roof: Step by Step
Follow these steps in order for a tarp that actually stays put.
Step 1: Measure the damaged area. Note how far the damage extends and add at least 4 feet on every side. Your tarp must be large enough to cover all of that and reach up over the roof peak.
Step 2: Clear the area. Remove debris, branches, and loose shingles from where the tarp will sit so it lays flat against the roof. Bumps and debris create gaps where water and wind get under.
Step 3: Position the tarp over the damage. Run the tarp so its top edge extends past the roof ridge (the peak). Water always flows downhill, so the top of the tarp going over the peak prevents water from running under the top edge.
Step 4: Anchor the top edge at the ridge. Roll the top edge of the tarp tightly around a 2x4 a few times. Then screw that board down at or just past the ridge. Wrapping the tarp around the board and fastening through the board spreads the load and stops the tarp from ripping at the fasteners.
Step 5: Secure the bottom and side edges. Pull the tarp taut so it lays flat with no flapping, then wrap each remaining edge around a board and fasten the same way. Taut and flat is what survives wind. Loose and flapping is what tears off.
Step 6: Weigh down or fasten all loose edges. Any edge you can't screw into solid framing should be wrapped around a board and weighed with sandbags. No edge should be left free to catch the wind.
Step 7: Check it. Walk the perimeter (carefully) and confirm every edge is secured, the tarp is taut, and the top runs over the peak. Press out any spots where water could pool.
Common Roof Tarping Mistakes
Avoid these and your tarp will hold.
Not running the tarp over the peak. If the top edge stops below the ridge, water runs underneath it and defeats the purpose. Always take the top over the peak.
Nailing through open tarp. Fasteners driven straight through the flat tarp create holes and tear points that rip in wind. Always wrap edges around boards and fasten through the boards.
Using a tarp that's too small. Skimping on overlap leaves the damage exposed at the edges. Bigger is safer, aim for 4 feet of overlap minimum.
Leaving edges loose. A flapping edge catches wind like a sail and pulls the whole tarp off. Secure every edge.
Using a thin tarp. A cheap light tarp shreds fast. Use heavy-duty (12 mil or more) for anything that needs to last more than a day or two.

How Long Will a Tarp Last on a Roof?
A properly installed heavy-duty tarp can protect a roof for up to 90 days, sometimes longer. The limiting factors are UV exposure (which breaks down the tarp material over time) and how well it was secured.
That said, a tarp is always a temporary fix. The longer it stays up, the more it degrades and the higher the risk of leaks returning. Use the tarp to buy time, then get permanent repairs done as soon as you reasonably can. If you're choosing a tarp for this job, our tarp thickness guide and PE vs PVC vs canvas comparison help you pick one tough enough to last the full stretch.
Frequently Asked Questions
What size tarp do I need to cover a roof? Choose a tarp large enough to cover the damaged area plus at least 4 feet of overlap on every side, and long enough to run up and over the roof peak. When in doubt, size up. Too big is safe; too small leaves edges exposed.
How do you keep a roof tarp from blowing off? Wrap each tarp edge around a long board (like a 2x4) and fasten through the board rather than through the open tarp, pull the tarp taut so it lays flat, run the top edge over the ridge, and weigh down or secure every edge. Loose, flapping edges are the main reason tarps blow off.
Can I tarp a roof myself or should I hire someone? You can tarp a low, accessible roof yourself if the surface is dry and you take safety precautions. For steep, high, or extensively damaged roofs, or if conditions are unsafe, hire a professional. A fall is never worth the savings.
How long can a tarp stay on a roof? A properly installed heavy-duty tarp can last up to 90 days or more, but it's a temporary solution. UV exposure degrades the tarp over time, so arrange permanent repairs as soon as possible.
What kind of tarp is best for a roof? A heavy-duty tarp of at least 12 mil thickness is best for roofs because it resists wind and UV better than thin tarps. Poly tarps are common for short-term emergency use; for longer protection, a thicker or vinyl tarp holds up better.
Will insurance cover roof tarping? Many homeowner policies cover temporary repairs like tarping to prevent further damage after a covered event, and may reimburse materials. Document the damage with photos before and after tarping, and check with your insurer.
Protect Your Roof Until Repairs Happen
Tarping a roof is about stopping the damage clock. Cover the damage with plenty of overlap, run the tarp over the peak, wrap and fasten every edge around boards, and keep it taut. Done right, you'll keep water out for weeks while you line up permanent repairs, and you'll avoid the much bigger costs of water reaching your deck, insulation, and ceilings.

At BCP Inc., we supply heavy-duty tarpaulins tough enough for emergency roof cover and built to last in the weather. Call us at 877-540-5678 or visit our tarpaulin page to find the right tarp and request bulk pricing.
