Roof Flashing: Types and How It Works | Guide
Roof Flashing: What It Is, the Types, and How It Works
Roof flashing is thin metal (usually aluminum, galvanized steel, or copper) installed at the joints and edges of a roof, around chimneys, walls, valleys, vents, and skylights, to direct water away from the seams where the roof is most likely to leak. Shingles and panels shed water off the open surface of a roof, but wherever the roof meets something else or changes direction, there is a seam, and seams leak. Flashing bridges those seams and channels water back onto the roof surface so it drains off safely. Without it, water finds the gap and gets into the structure.
That is the short version. Below we cover what flashing does, the main types and where each goes, how it works with your underlayment and ice and water shield, and the mistakes that cause flashing to fail.
Why flashing matters
A roof does not usually leak in the middle of an open shingle field. It leaks at the transitions, where a chimney rises through the roof, where a slope meets a wall, where two roof planes meet in a valley, or where a vent pipe pokes through. These spots break up the smooth path water takes down the roof, and water is relentless about finding any gap.
Flashing solves this by covering those transitions with metal shaped to guide water. Done right, it is one of the most important defenses a roof has. Done wrong or left out, it is the number one source of roof leaks. Most roofing problems that show up as interior water stains trace back to failed or missing flashing, not failed shingles.
Flashing works hand in hand with the layers beneath it, especially ice and water shield, which we will come back to.
The main types of roof flashing
Flashing is named mostly by where it goes and the shape it takes. The types you will run into:
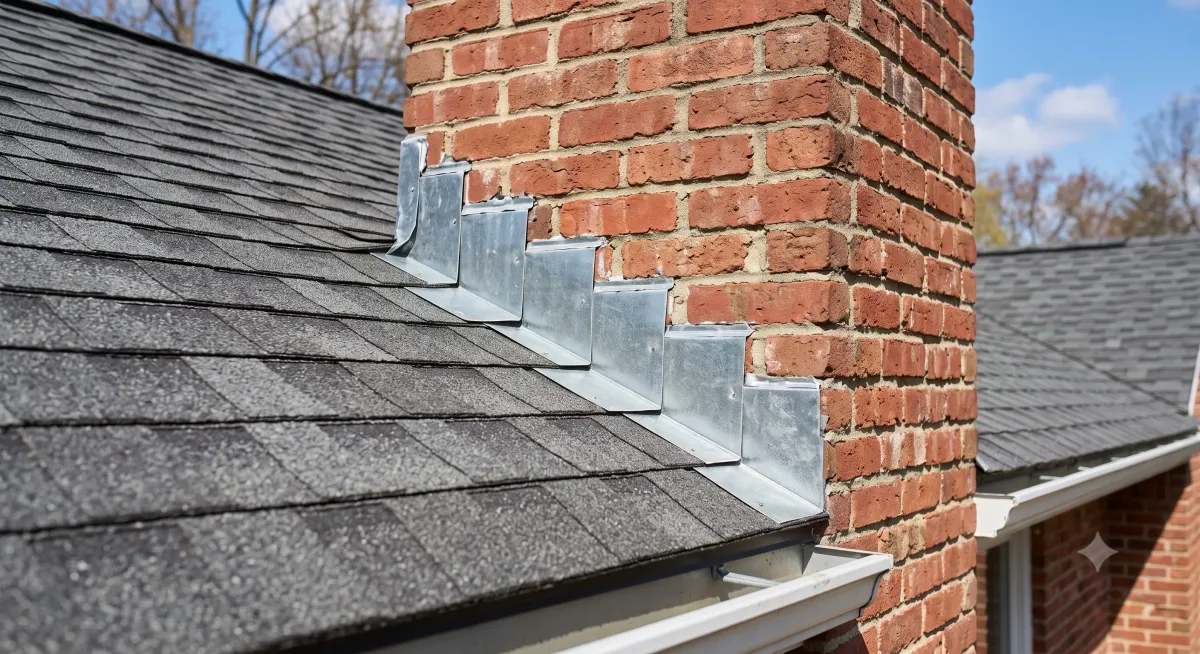
Step flashing. Small L-shaped pieces layered in with the shingles where a roof slope meets a vertical wall. Each piece laps over the one below like steps, so water steps down and out.
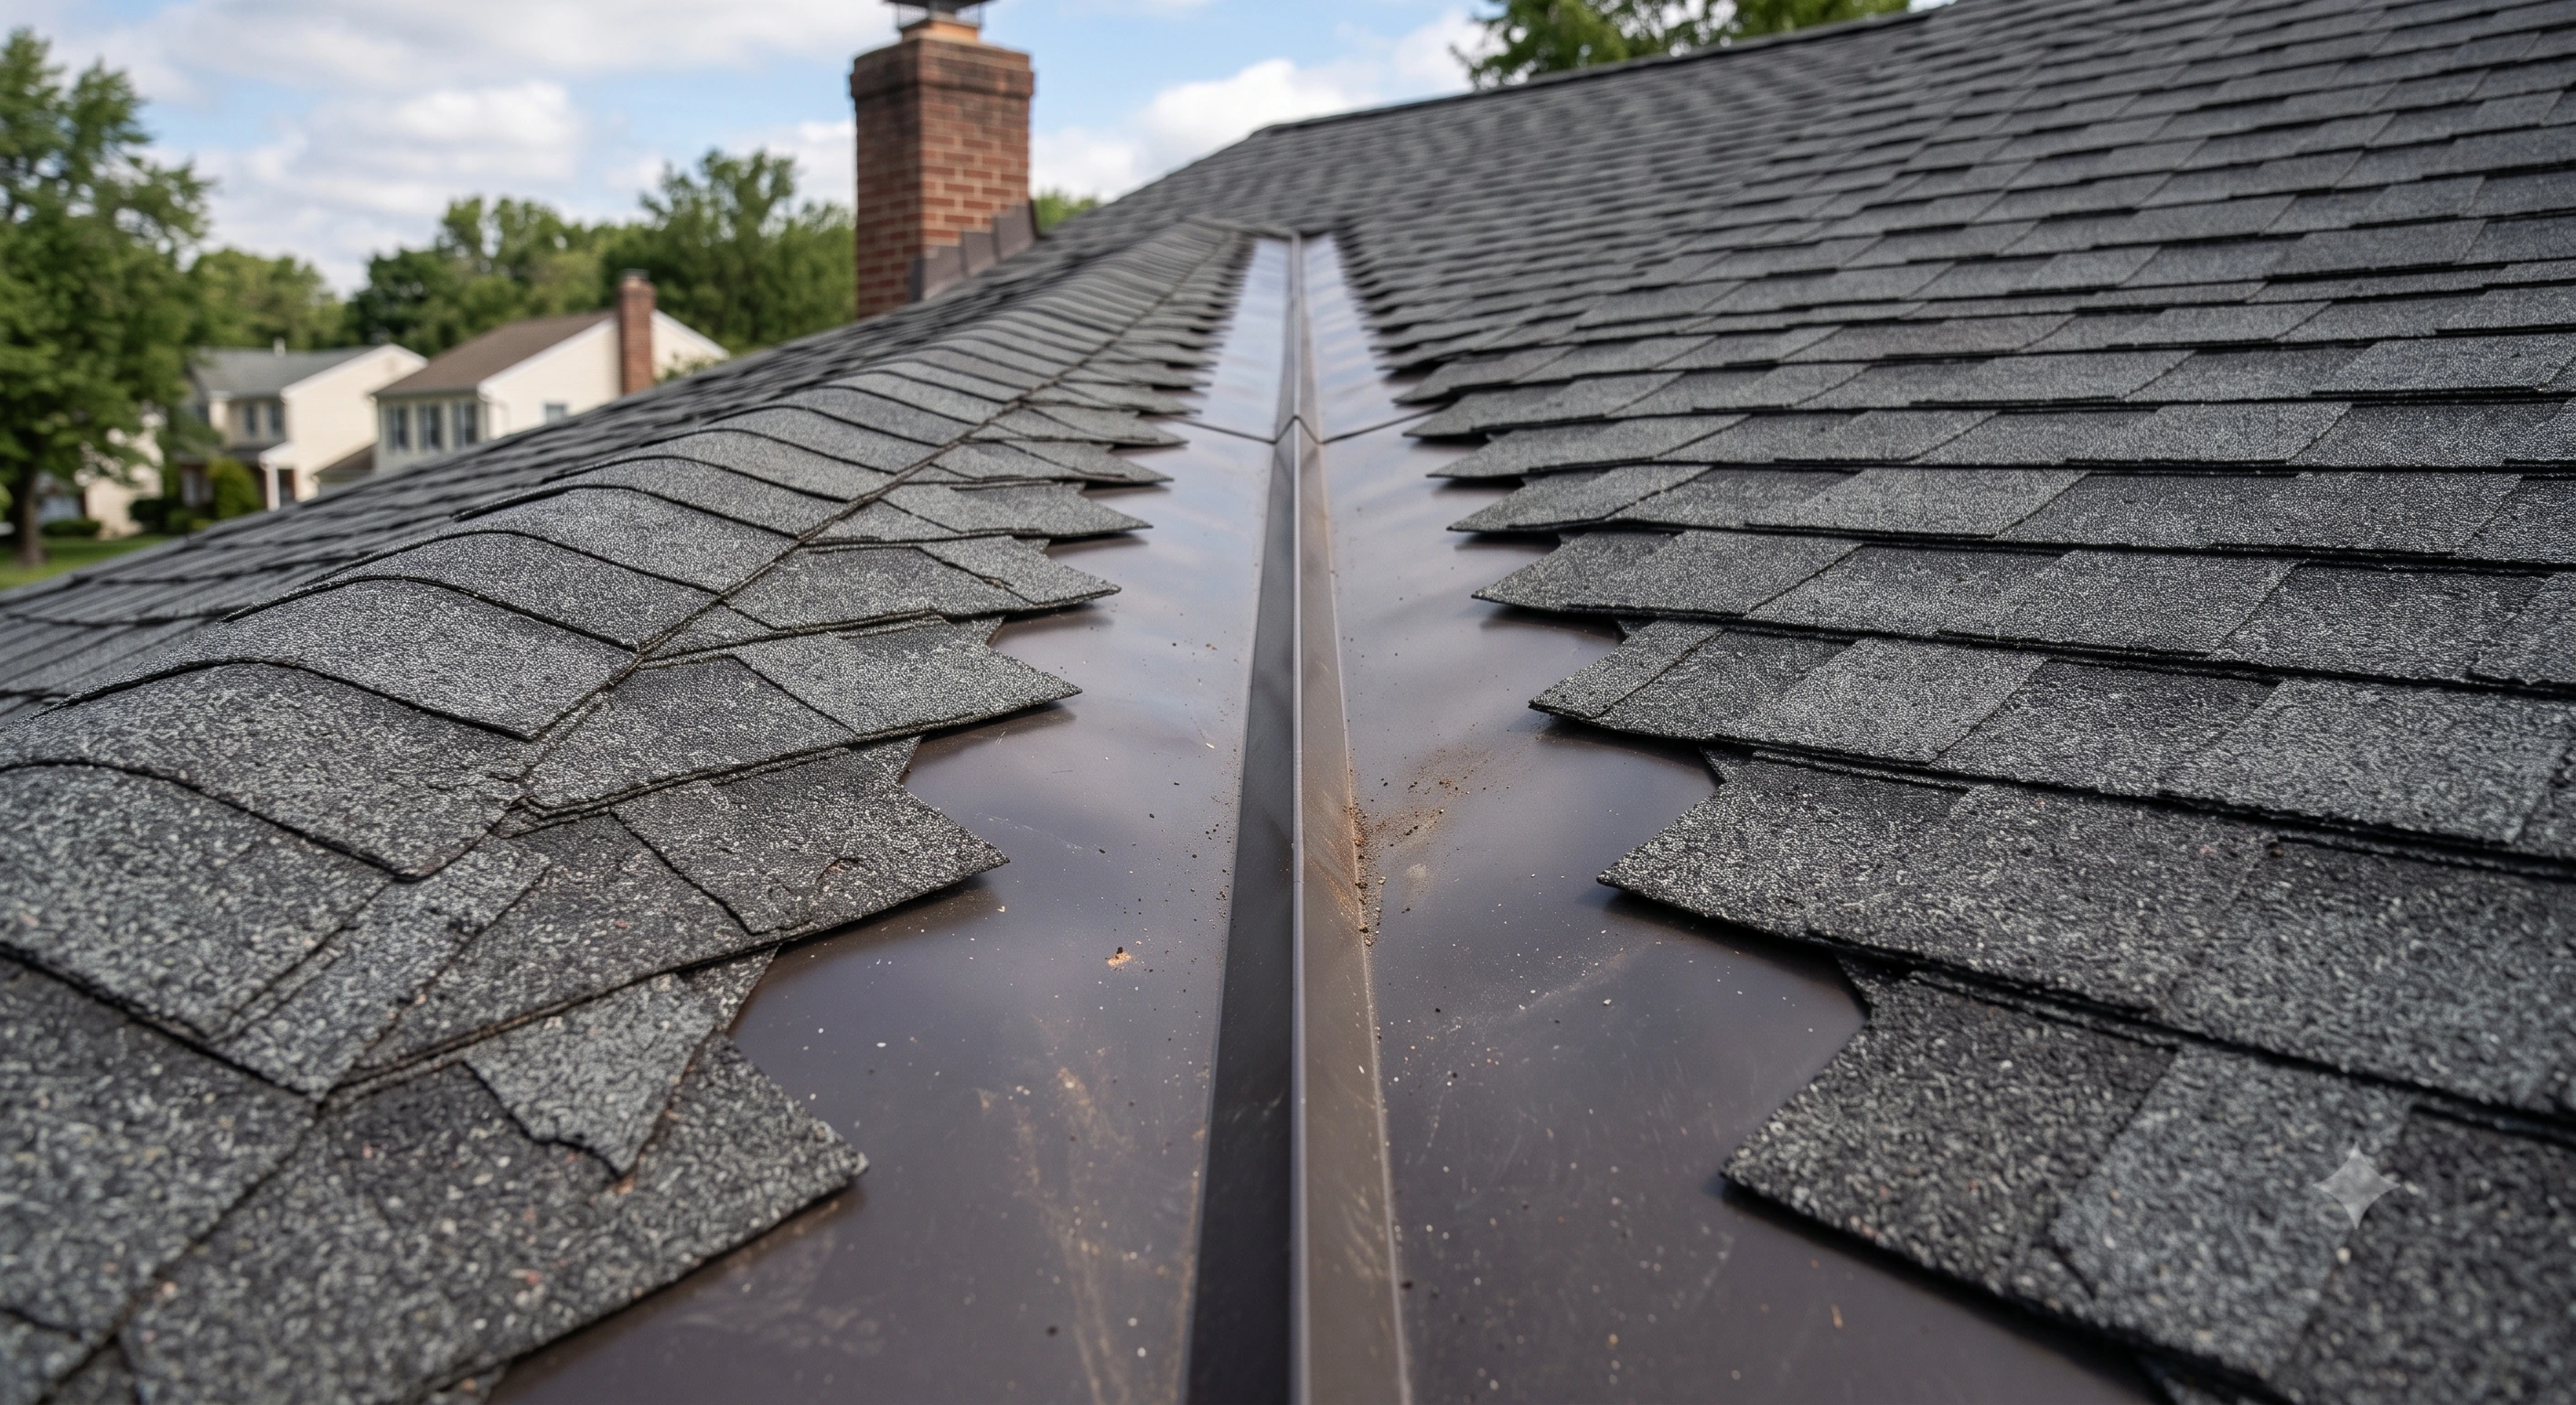
Valley flashing. Runs down the center of a valley where two roof planes meet, carrying the combined water flow down and off the roof.
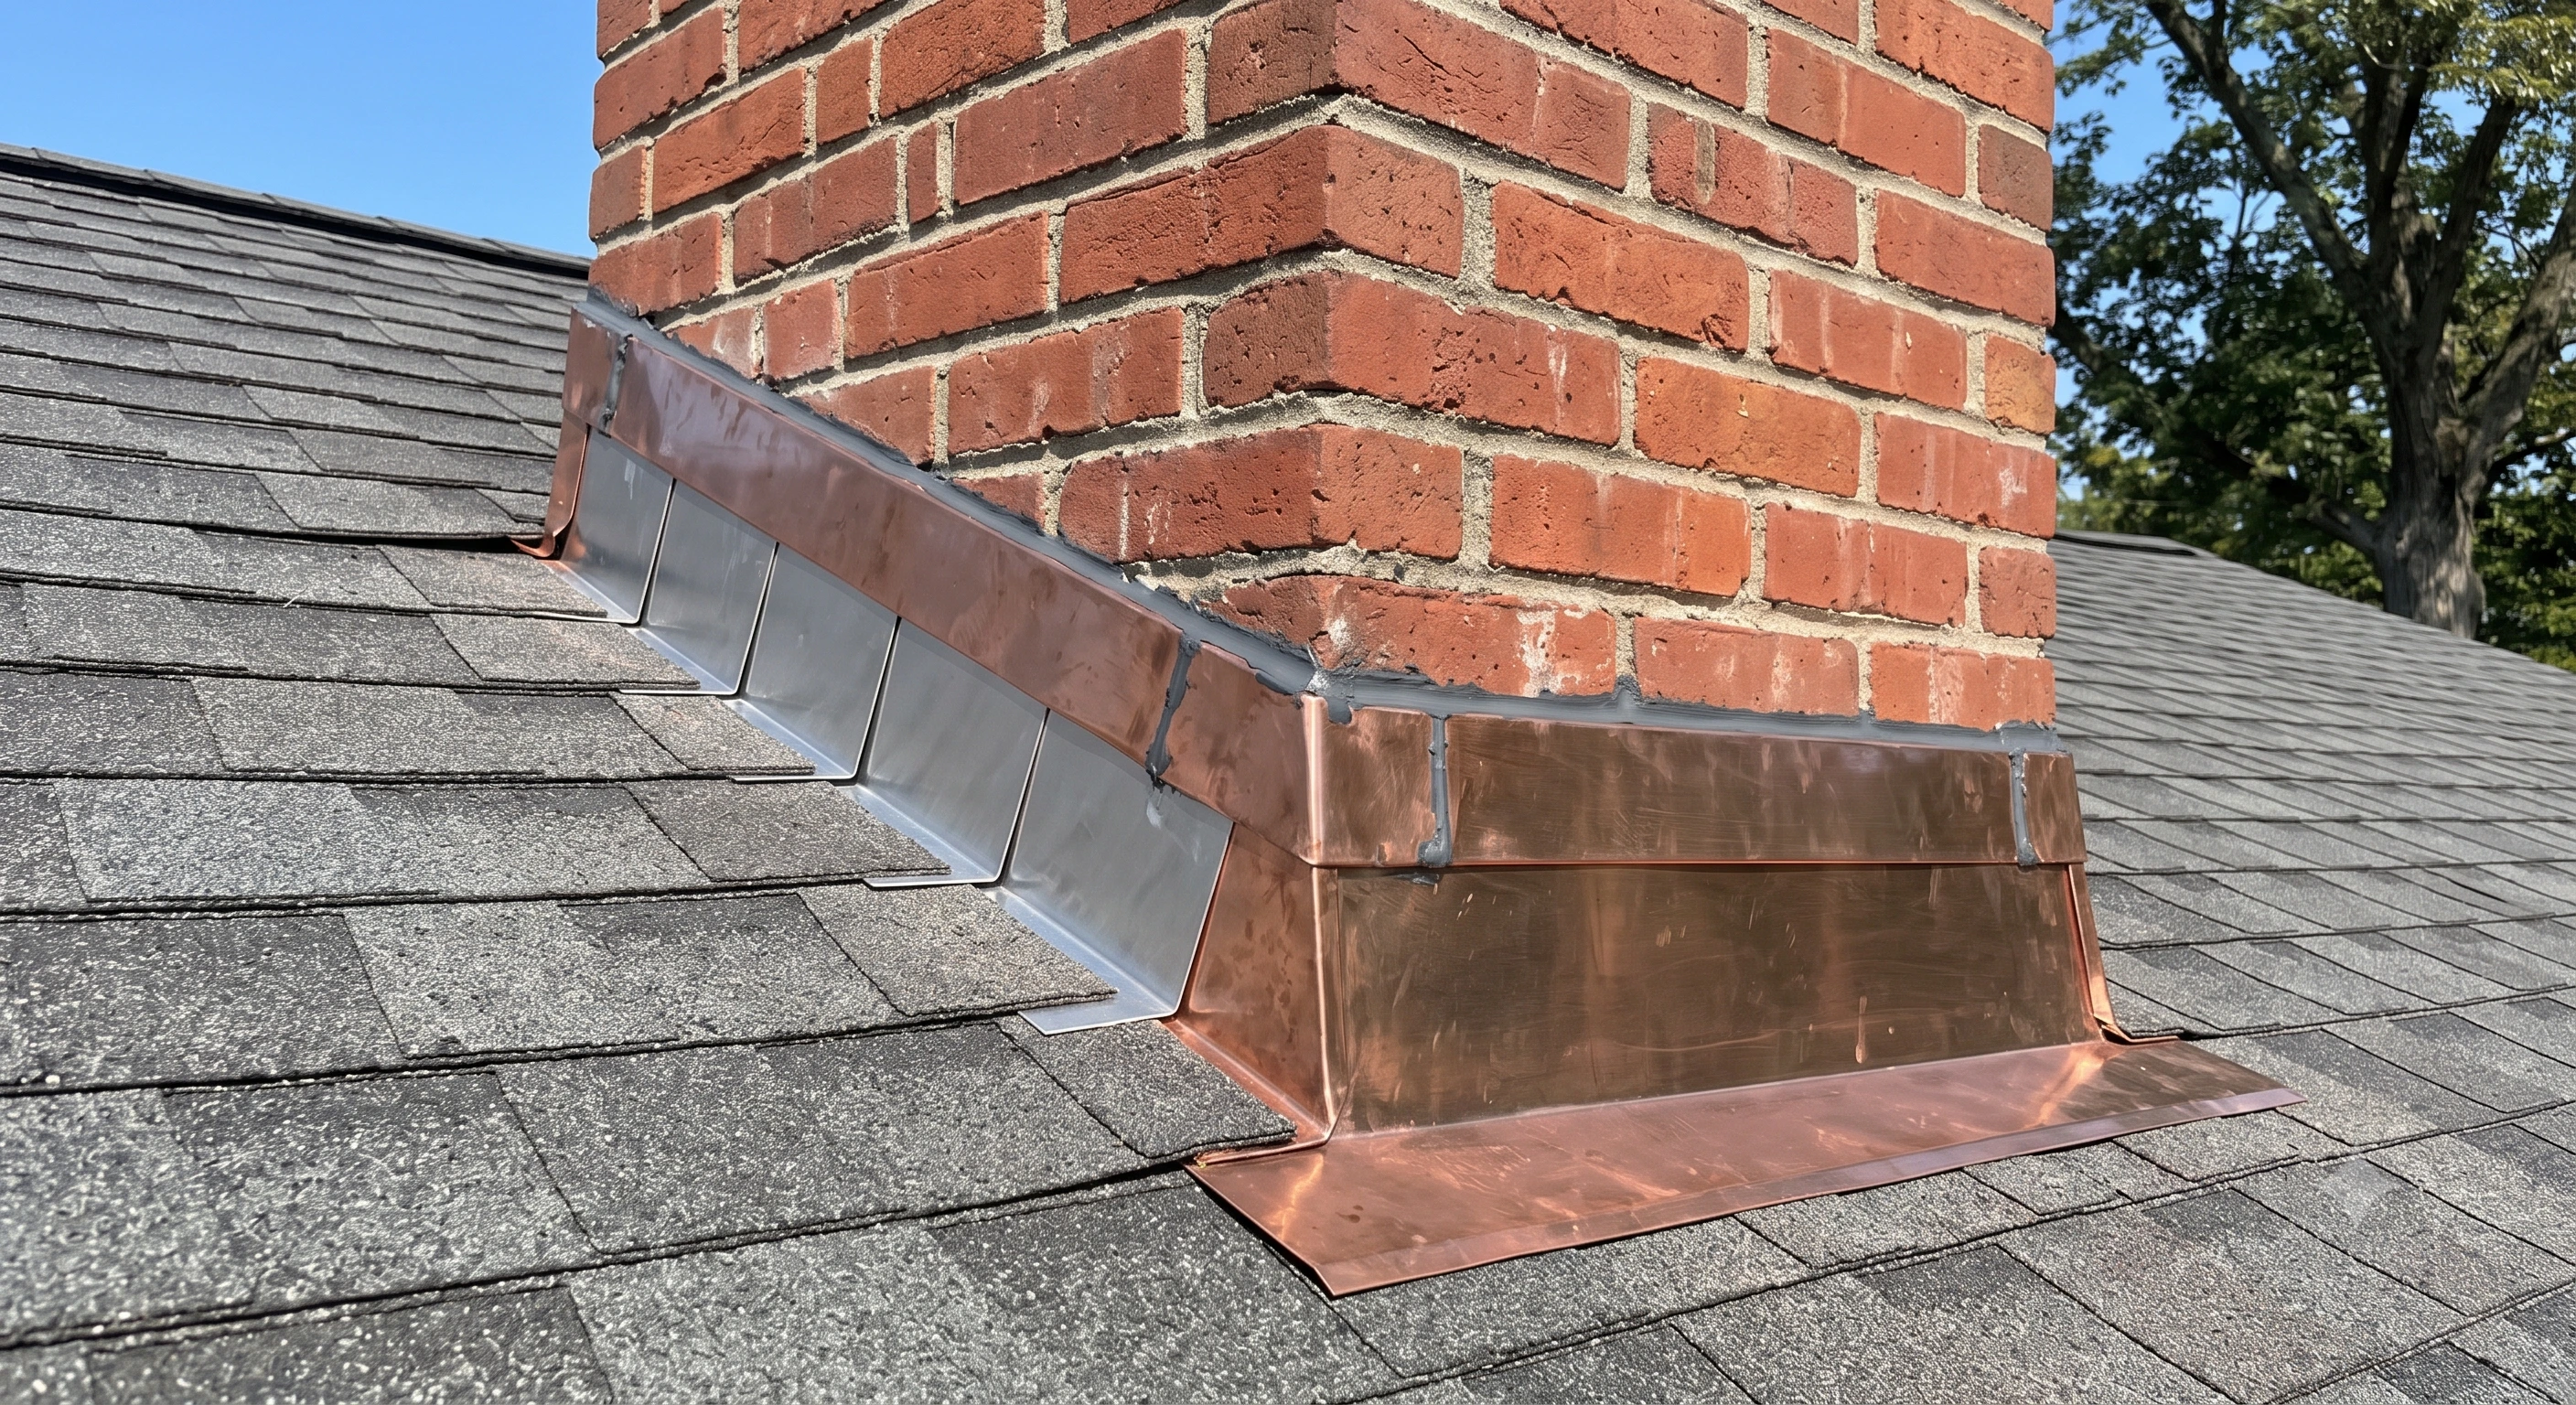
Chimney flashing. A system, usually base flashing at the front, step flashing up the sides, and counter flashing set into the chimney masonry, that seals the joint all around a chimney.
Vent pipe flashing (boots). A collar or boot that fits around plumbing vents and other pipes to seal where they penetrate the roof.
Drip edge. Metal flashing along the eaves and rakes that directs water into the gutter and off the roof edge. (We cover this in depth in our drip edge guide.)
Kickout flashing. A small but critical piece where a roof edge meets a wall, kicking water away from the wall and into the gutter instead of behind the siding.
Counter flashing. A second layer set into or over base flashing (common on chimneys and walls) that covers the top edge so water cannot get behind it.
Flashing types at a glance
What flashing is made of
Flashing comes in a few materials, chosen for durability and budget:
Aluminum, common, affordable, rust proof, easy to form. Good for most residential work, though it should not contact bare pressure-treated wood or masonry without a barrier.
Galvanized steel, strong and economical, with a zinc coating for rust resistance. A common workhorse.
Copper, premium, extremely long lasting, and attractive as it patinas. Used on high-end and historic work.
Lead and specialty membranes, used in specific detailing and flexible flashing situations.
For most homes, aluminum or galvanized steel covers the job well.
How flashing works with underlayment and ice and water shield
Flashing is the visible metal layer, but it does not work alone. Underneath it, ice and water shield provides a waterproof backup exactly where flashing lives, at valleys, penetrations, and wall intersections. The two are designed to overlap so that if water ever gets past the flashing, the membrane below still keeps it out of the deck.
The rule that ties it all together is the same one that governs the whole roof: every layer laps over the one below it, so water always sheds down and out. Flashing laps over the underlayment in the right places, the membrane seals the high risk zones, and the shingles or panels cover it all. For how the waterproof membrane fits into this, see our ice and water shield guide.
Common flashing mistakes
Flashing failures cause a large share of roof leaks, and they usually come from a handful of errors:
Relying on caulk instead of proper flashing. Sealant is a supplement, not a substitute. Caulk dries, cracks, and fails; metal flashing shaped correctly does the real work.
Reusing old flashing on a new roof. When a roof is replaced, tired flashing should usually be replaced too. Old, corroded, or bent flashing is a leak waiting to happen.
Missing kickout flashing. The small piece where a roof edge meets a wall is often skipped, and its absence dumps water behind the siding, causing hidden rot.
Wrong lap direction. Flashing must be layered so upper pieces lap over lower ones. Reverse it and water runs behind the flashing.
No membrane behind the flashing. Flashing at valleys and penetrations should have ice and water shield underneath as a backup. Skipping it removes the safety net.
Incompatible metals. Certain metals corrode when they touch each other or specific materials. Match the flashing to the surrounding materials.
When to call a pro
Simple flashing like drip edge is straightforward, but chimney flashing, valley flashing, and wall intersections take skill to get right, and they are the exact spots where mistakes cause the worst leaks. If you are dealing with a complex roof or a persistent leak around a chimney or wall, it is worth having an experienced roofer handle the flashing detail.
Whatever the job, the flashing works only as well as the layers beneath it. If you are building or reroofing and want the right ice and water shield and underlayment to back up your flashing, BCP can help you spec the system. Call us at 877-540-5678 or visit our roof underlayment page to get started.
Frequently asked questions
What is roof flashing? Roof flashing is thin metal installed at the joints and edges of a roof, around chimneys, walls, valleys, vents, and eaves, to direct water away from the seams where a roof is most likely to leak.
What are the main types of roof flashing? The common types are step flashing (roof-to-wall), valley flashing, chimney flashing, vent pipe boots, drip edge (eaves and rakes), kickout flashing, and counter flashing. Each is shaped for a specific transition on the roof.
What is the best material for roof flashing? Aluminum and galvanized steel handle most residential roofs affordably and resist rust. Copper is a premium, very long-lasting choice used on high-end and historic homes.
Why do roofs leak at the flashing? Roofs leak at transitions, chimneys, walls, valleys, and penetrations, because those seams break the smooth path water takes. If flashing is missing, poorly installed, or worn out, water gets into the gap. Most roof leaks trace back to flashing.
Is caulk a substitute for flashing? No. Caulk is a supplement that helps seal small gaps, but it dries and cracks over time. Properly shaped metal flashing does the real work of directing water, and it should never be replaced by sealant alone.
Does flashing need ice and water shield underneath? In the high risk areas (valleys, penetrations, wall intersections), yes. Ice and water shield under the flashing provides a waterproof backup so that if water ever gets past the metal, it still cannot reach the deck.
