How to Install a Silt Fence: Step-by-Step Guide
How to Install a Silt Fence: A Step-by-Step Guide for Job Sites
A silt fence is installed by digging a trench along the downhill edge of your site, setting the support posts on the downhill side of that trench, attaching the fabric to the posts, and burying the bottom of the fabric in the trench so water cannot sneak underneath. Done right, the whole run takes a small crew a few hours and keeps sediment on your site where it belongs, which is what keeps you compliant during an inspection.
That is the short version. The details are where most installs go wrong, so let us walk through it the way you would actually do it on site.
What a silt fence does and why installation matters
A silt fence is a temporary barrier of woven geotextile fabric held up by posts. It slows down stormwater runoff long enough for the dirt in that water to settle out before the water leaves your property. It is one of the most common erosion control tools on construction sites, and on most projects it is required by your stormwater permit.
Here is the part people miss: a silt fence only works if it is installed correctly. A fence that is stapled to posts and left sitting on top of the ground will fail the first time it rains hard. Water runs straight under the fabric, takes the sediment with it, and you are left with a muddy mess and a failed inspection. The trench is not optional. It is the single most important step.
If you are still deciding whether a silt fence is the right tool for your site, our guide on what a silt fence is and how it works covers the basics, and we also compare it against other options in silt fence vs erosion control blankets.
Tools and materials you will need
Before you start, get everything together so you are not running back to the truck halfway through:
Silt fence fabric (woven geotextile), enough for your run plus extra for overlaps
Wooden stakes or steel T-posts
A trenching tool, a flat spade, a trenching machine, or a silt fence installation machine for long runs
A post driver or sledgehammer
Heavy duty staples, zip ties, or wire to attach fabric to posts
A utility knife
A tape measure
Marking paint or flags to lay out the line
For the fabric itself, the quality matters more than people expect. A cheap fabric tears at the staples and lets water through. Our silt fence is woven for strength and built to last through a full project without breaking down. Call us at 877-540-5678 if you are not sure how much you need for your site.
Step-by-step: how to install a silt fence
Step 1: Plan and mark your line
Walk the site and figure out where the water wants to go. The silt fence goes along the downhill edge of the disturbed area, running along the contour of the land. That means it should follow the same elevation across the slope, not run straight up and down the hill.
If you install it running downhill, all the water funnels to the low point and blows the fence out. Running it along the contour spreads the water out evenly so the fence can do its job. Mark your line with paint or flags before you dig.
Step 2: Dig the trench
Dig a trench along your marked line, about 6 inches wide and 6 inches deep. This is where the bottom of the fabric gets buried, and it is what stops water from running underneath.
For a short run, a flat spade works fine. For anything long, a trenching machine or a dedicated silt fence machine saves hours and gives you a cleaner, more consistent trench. Pile the soil you dig out on the uphill side of the trench, you will use it to backfill in a later step.
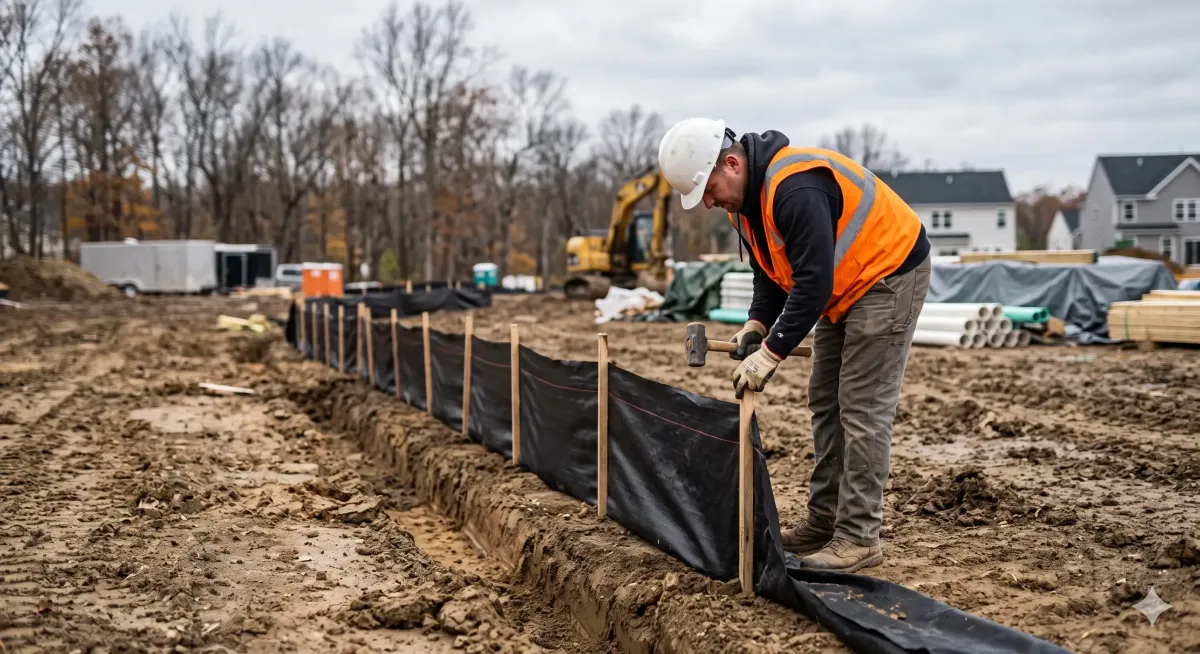
Step 3: Set the posts
Drive your posts into the ground on the downhill side of the trench. Space them about 6 to 8 feet apart. If you are using a stronger fabric or expect heavy flow, tighten that spacing to 4 to 6 feet for more support.
Drive each post at least 18 inches into the ground so it stays put when the fence loads up with water and sediment. The posts should stand about 24 to 36 inches above ground once set. Posts that are too shallow will lean over and fail under pressure.
Step 4: Attach the fabric
Roll out the fabric along the posts on the uphill side, the side facing the water. Attaching it on the uphill side lets the water pressure push the fabric against the posts instead of pulling it away from them.
Fasten the fabric to each post with at least three or four staples, zip ties, or wire. Leave enough fabric at the bottom to lay into the trench, usually about 8 to 12 inches. Keep the fabric pulled snug between posts, no sagging, but not so tight that it tears at the fasteners.
Step 5: Bury the bottom in the trench
Lay the bottom flap of fabric into the trench along the bottom and up the uphill wall. This is the step that makes or breaks the whole install. Water will always look for the easy path, and an unburied fence gives it one straight underneath.
Step 6: Backfill and compact
Push the soil you set aside back into the trench, on top of the buried fabric, and compact it down. Walk it in or tamp it with a compactor. Compacting matters, loose backfill washes away and reopens the gap you just closed. Once this is done, the bottom of your fence is locked into the ground.
Step 7: Handle joints and ends
Where two rolls of fabric meet, do not just butt them together. Overlap the ends by wrapping them around a shared post, or roll the two ends together so there is no open seam for water to escape through.
At the ends of your run, turn the fence slightly uphill in a J-hook shape. This stops water from simply running around the end of the fence and defeating the whole thing.
Common silt fence installation mistakes
Even experienced crews make these, so it is worth a quick checklist:
Maintaining your silt fence
Installation is not the end of the job. A silt fence needs to be checked regularly, especially after every significant rain. Look for sagging sections, undermined spots where water got underneath, and tears in the fabric.
When sediment builds up to about a third to half the height of the fence, remove it. If you let it pile up to the top, the fence stops filtering and starts acting like a dam, which leads to failure. Most stormwater permits require these inspections on a set schedule, so keep a simple log. Staying on top of maintenance is what keeps you compliant between inspections.

When to call in help
For a small site, a two-person crew can handle a silt fence install in an afternoon. For larger commercial sites with long runs, a silt fence installation machine that slices the trench, sets the fabric, and backfills in one pass is worth the rental. Either way, the steps are the same, dig the trench, set the posts downhill, attach the fabric uphill, bury the bottom, and compact.
If you need silt fence fabric that holds up through a full project and passes inspection, we can help you spec the right amount for your site. Call BCP at 877-540-5678 or check out our silt fence product page to get started.
Frequently asked questions
How deep should a silt fence be buried? Bury the bottom of the fabric at least 6 inches deep in a trench, then backfill and compact the soil on top. This depth is what stops runoff from flowing underneath the fence.
Which side of the posts does the fabric go on? The uphill side, the side facing the oncoming water. This way the water pressure pushes the fabric against the posts instead of pulling it off.
How far apart should silt fence posts be? Space posts 6 to 8 feet apart for standard installations, or 4 to 6 feet apart for heavier flow or stronger fabric. Drive each post at least 18 inches into the ground.
Should a silt fence follow the slope or run along the contour? Always run it along the contour, at a consistent elevation across the slope. Running it up and down the hill funnels water to one point and causes the fence to fail.
How often should I inspect a silt fence? Inspect after every significant rainfall and on the schedule your stormwater permit requires. Remove built-up sediment once it reaches a third to half the fence height.
Can one person install a silt fence? It is possible for a short run, but two people make it much faster and easier, one to hold and attach the fabric while the other drives posts and works the trench.
